
DIY Auburn Football Cornhole Boards
Hello everyone! I just finished my latest creation: Auburn University themed cornhole boards! It took a couple of weekends to finish and cost about $150 in tools and supplies to make (acquiring a 6 inch hole saw plus matching drill bit was about $50 of that total.) I followed This Old House‘s tutorial on building a cornhole board, and in the following post I share the steps I took to create the cornhole boards!

Auburn themed cornhole boards
Disclosure: This post contains affiliate links.
Tools and Supplies
The following items are some of the tools and supplies I gathered to build the Auburn cornhole boards. For a complete listing, check out This Old House’s tutorial on building a cornhole board.
- 6 inch diameter hole saw
- Hole saw arbor
- Silhouette Portrait (for creating stencils)
- half sheet of 1/2 inch plywood
- 4 – 2×4 boards 8 feet long
- 4 – 3/8 x 3 1/2 inch carriage bolts
- 4 – 3/8 inch washers
- 4 – 3/8 inch wing nuts
- Kreg Jig (for joining boards)
- Kreg Right Angle Clamps
- Japanese Hand saw and Guide (cutting 2×4 boards)
- Rockwell VersaCut Circular Saw with Track Guide (cross cutting plywood)
- Glidden Paint Team Colors (for the official shades of orange and blue)
Building the Cornhole Boards
Step 1: Cut plywood into two 24×48 inch pieces
I used my VersaCut circular saw and its track guide to cut a sheet of plywood into 24 inch wide strips.

Cutting plywood with the Rockwell VersaCut
Step 2: Cut the 2×4 boards
I used my handsaw to cut the 2×4 boards into 4 pieces at 21 inches long and 4 pieces at 12 inches long.
Step 3: Assemble the frame
With my Kreg Jig, I created pocket hole joints to piece together the cornhole board frame.

Creating pocket holes with the Kreg Jig
I assembled the frame with the appropriate screws. At this point I realized I made a poor selection with the 2×4 boards. A couple of the boards were severely warped. It increased the difficulty level for assembling the frame. I had to use a lot clamps to fight the wood. (My personal favorite clamp when I use pocket hole joints is the Kreg right angle clamp. I recommend owning two!)

Fighting warped wood

Cornhole board frames are complete!
Step 4: Attach the plywood to the frame
I also used pocket hole joints to attach the sheet of plywood to the 2×4 frame.

Attaching plywood to the frame

Ready for the hole saw
Step 5: Create a 6 inch hole
Up next, I created a 6 inch hole. The center point of the circle was 12 inches from the side and 9 inches from the top. I do not trust my jigsaw skills, so I purchased a 6 inch hole saw and a matching drill bit to attach the hole saw. (I made a mistake here and purchased a bit that was too large for my drill.)

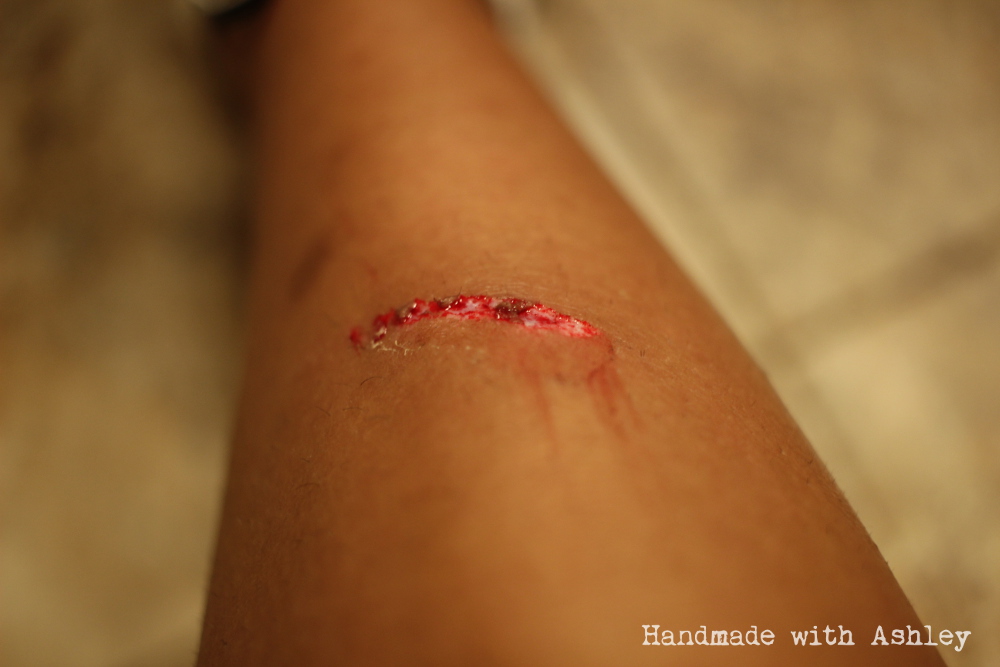
The kickback with a large hole saw is no joke. I did not have a very strong grip on my drill as I made contact with the plywood. I lost control of the drill and the spinning saw went flying and hit my shin. I thank God I was wearing a pair of jeans. I’m pretty sure the injury (warning – blood) would require stitches otherwise.
Heh, so at this point I was at little intimidated with the hole saw.

Step 6: Prep the boards for paint
I sanded the surface of the boards. A few spots where the plywood and 2×4 frame met were not flush. I love my orbital sander, but it is not very good at removing a lot of material. So for this project I acquired a new tool: a belt sander! I purchased the Ryobi 3″ x 18″ belt sander. (This tool would have been really nice to have while I was finishing my industrial factory cart coffee table or any project with edge to edge joints.)
Step 7: Attach the legs
I followed The Old House tutorial for attaching the legs to the cornhole boards.
Painting the Cornhole Boards
Building the cornhole boards was easy. Painting the boards was where all the real work took place!
Step 1: Apply a base coat.
Glidden Paint at Home Depot have a Team Colors collection. I purchased a quart of the Auburn blue and orange. I used a nice quality paint brush to apply each color.

Base coat of paint drying
Step 2: Create Auburn themed stencils
I imported images of the official Auburn logos into the Silhouette Studio software and created cut files for AU and tiger logos. You can skip this step and download the cut files I created here:
I used my Silhouette Portrait to cut the stencils out of contact paper. I followed the Shanty sister’s tutorial on creating a stencil with contact paper to get the perfect cut setting. I also followed the Silhouette School Blog’s tutorial for cutting oversized stencils.
This was the the first project that made me really wish I owned the Silhouette Cameo (the larger of the two machines.)

Auburn Tiger stencils with the Silhouette
Step 3: Stencil in the logos
I applied the contact paper stencils to the boards and used a stencil brush to paint in the space. This was by far the most tedious step of the whole project. I used Delta Ceramcoat in Ultra Blue and Orange Soda to paint the Auburn tiger logo.

Stenciling in the AU logo

Stenciling in the Auburn Tiger and War Eagle
Once the stenciling was over, I needed to apply some touch up paint in a few spots.

Stencil time is over! Yay!
Step 4: Apply a clear coat
For the final step, I applied a few layers of clear coat to protect the finish. I have not mastered the art of avoiding brush marks, so I was a bit disappointed with my clear coat job.
The Completed Cornhole Boards

DIY Cornhole Board
Auburn themed cornhole boards

Homemade cornhole boards


Finally!
Hello
Nicely done! I have been building boards off and on for friends and customers for a few years now. I recently bought my wife the Silhoutte Cameo and have been itching to use it for some designs (I’m an FSU fan by the way :). Two suggestions I have found in making them. 1. Get a corded drill with a side handle to cut with a hole saw. I have this, http://www.homedepot.com/p/DEWALT-1-2-in-Variable-Speed-Reversing-Drill-DW235G/100050769. 2. I apply polycrylic using 4 inch cabinet rollers and then brush over it with a foam brush before it dries. Again, excellent job!
Thanks so much for the tips! A drill with a side handle is definitely a must have if I make another set 🙂