Step by step instructions on how to make a beautiful end grain cutting board from walnut and cherry. Perfect homemade gift for any special occasion!

How to make an end grain cutting board from scraps
I recently made a Tardis end grain cutting board and I was left with many leftovers. Instead of letting them collect saw dust in the garage I decided to immediately put them to use by making another end grain cutting board.
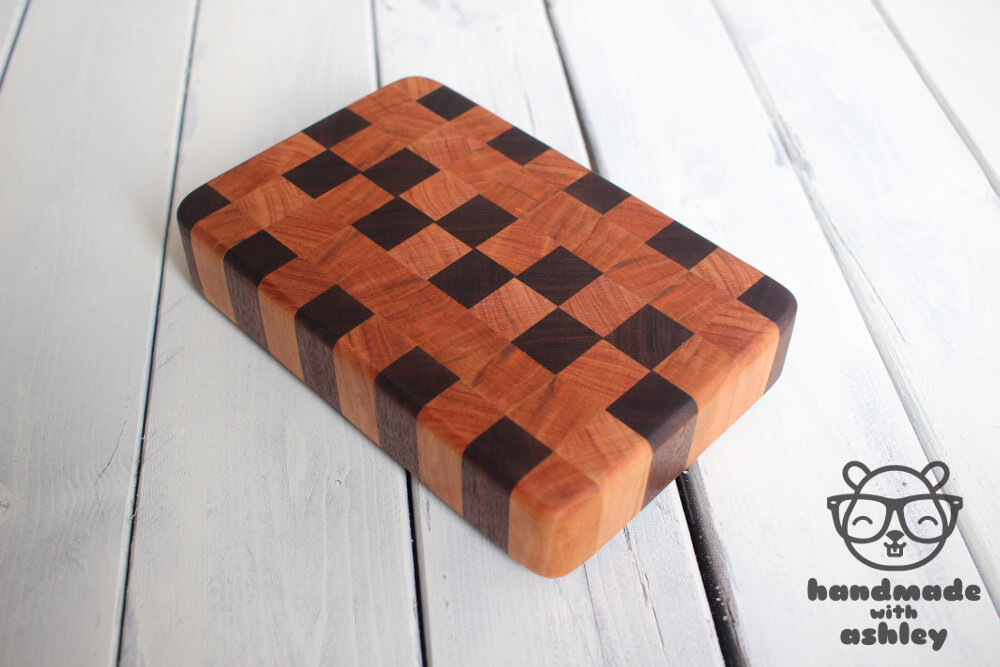
Walnut and cherry end grain cutting board
CLICK HERE for step by step tutorial on how to make a Tardis end grain cutting board. (There’s also a YouTube video. WATCH IT HERE.)
Disclosure: This post contains affiliate links. That means if you purchase an item via one of these links, I’ll receive a small commission at no added cost to you. This helps keep the content on the site free and I appreciate the support! :o)
Tools and Supplies
The following items are some of the tools and supplies that I gathered to create the end grain cutting board.
Tools
- Saw (circular, table saw or bandsaw)
- Jointer
- Planer
- Belt sander
- Router with 1/4″ round over router bit
- Orbital sander
Supplies
- Leftover strips of walnut and cherry 3/4″ on all sides
- Wood Glue
- Sand paper – Grits 80, 100, 150, 220
- Mineral oil
- Beeswax
Watch the video tutorial
Click play and watch the video tutorial below. For more woodworking videos, CLICK HERE to subscribe to my YouTube channel.
Continue reading for the written tutorial.
How to make an end grain cutting board in 11 simple steps
- Mill the lumber
- Rip the board into 3/4″ strips
- Design the cutting board layout
- Edge glue the boards
- Cross cut the cutting board
- Glue the cutting board again
- Clean up the edges
- Add a corner radius (optional)
- Round over the edges
- Sand
- Apply a food safe finish
Step 1: Mill the lumber
Typically when you purchase hardwood from the sawmill, the hardwood is rough sawn. Rough saw lumber is not flat or surfaced on all four sides. I used my jointer to surface one face and one edge of the each board. I used the planer to surface the other face and planed each board to the same thickness. For more details and photos on the process check out my tutorial on how to make a cutting board.
Step 2: Rip the boards into 3/4″ strips
Once the boards are milled, move the the table saw to rip each board into 3/4″ strips.
Step 3: Design the cutting board layout
Think of how you would like the end grain cutting board to look and select the order of how the strips should be glued together.
I chose the following pattern:
- Walnut
- Cherry
- Cherry
- Walnut
- Cherry
- Cherry
- Walnut
Step 4: Edge glue the boards
Apply wood glue to the boards and clamp the strips together. Follow your wood glue instructions for cure times.

1. Select a design for the cutting board. 2. Edge glue the cutting board together.
Step 5: Cross cut the cutting board
Once the glue has dried, it is time to make more cuts for the cutting board. This time cross cut the board into 2″ wide pieces. I made these cuts on my bandsaw, but the job can be done on the table saw with a cross cut sled.
 . Making a cross cutting sled for the table saw is still on the todo list, but I really wanted to make some more progress on this cutting board so used the bandsaw.
  . #bandsaw #grizzlybandsaw #favoritetool #g0555lx #mfpbehindthescenes #garage #garageshop #wood #crosscut #endgraincuttingboard #woodworker #woodwork #dowoodworking #walnut #maple @grizzlyindustrial #woodslicer #woodslicerblade #lunchtimewoodworking
Step 6: Glue cutting board again
Select an arrangement for the new cutting board pieces. Glue and clamp the pieces together. I went back and forth between several designs before settling on the final one.

Selecting a cutting board design for the end grain cutting board
Step 7: Clean up the edges
Once the glue has cured, trim up the edges on a table saw.
Step 8: Add a corner radius (optional)
Add a corner radius to the cutting board. There are few ways to do this. I used a belt sander.
Alternatively you could:
- Use a router with a corner radius jig
- Cut a corner radius with a bandsaw or jigsaw
Step 9: Round over the edges
Grab router and equip it with a 1/4″ round over router bit with bearing. Route all four sides of the top and bottom of the cutting board.
Step 10: Sand
Sanding end grain can take a while. If the board surface is very uneven from the glue up, you may want to consider creating a router flattening jig to clean the surface of the cutting board prior to final sanding. I created a flattening jig for my Tardis end grain cutting board.
Cycle through grits 80 – 220 on the orbital sander. Wipe down the cutting board with a damp cloth to raise the grain. Allow it to dry a little before a final sanding with 220 grit sand paper. This should leave the cutting board surface smooth.
Step 11: Apply a food safe finish.
Applying a finish is the fun part. Watching the wood color come to life once you apply the oil is a very exciting step. I finished my cutting board with mineral. I applied several layers until the cutting board no longer absorbed it.
 This is the first coat of mineral oil.
  (Swipe for video.) . #endgrain #endgraincuttingboard #scrapwood #scrapwoodcuttingboard #kregmobileprojectcenter #mobileprojectcenter #mineraloil #cherry #walnut #woodwork #woodworking #woodworker #dowoodworking #mfpbehindthescenes #diy #cuttingboard #sawdustsaturday #rainyday #almostdone
DIY End Grain Cutting Board
Enjoy your new cutting board or gift it to a family member or friend. They make wonderful handmade gifts.

Handmade gift – Walnut and Cherry end grain cutting board | How To Tutorial

Handmade gift – Walnut and Cherry end grain cutting board | How To Tutorial
(I also made a long grain cutting board from my Tardis scraps. Check out my previous tutorial on how to make a simple cutting board.)
I’m linking up to:


